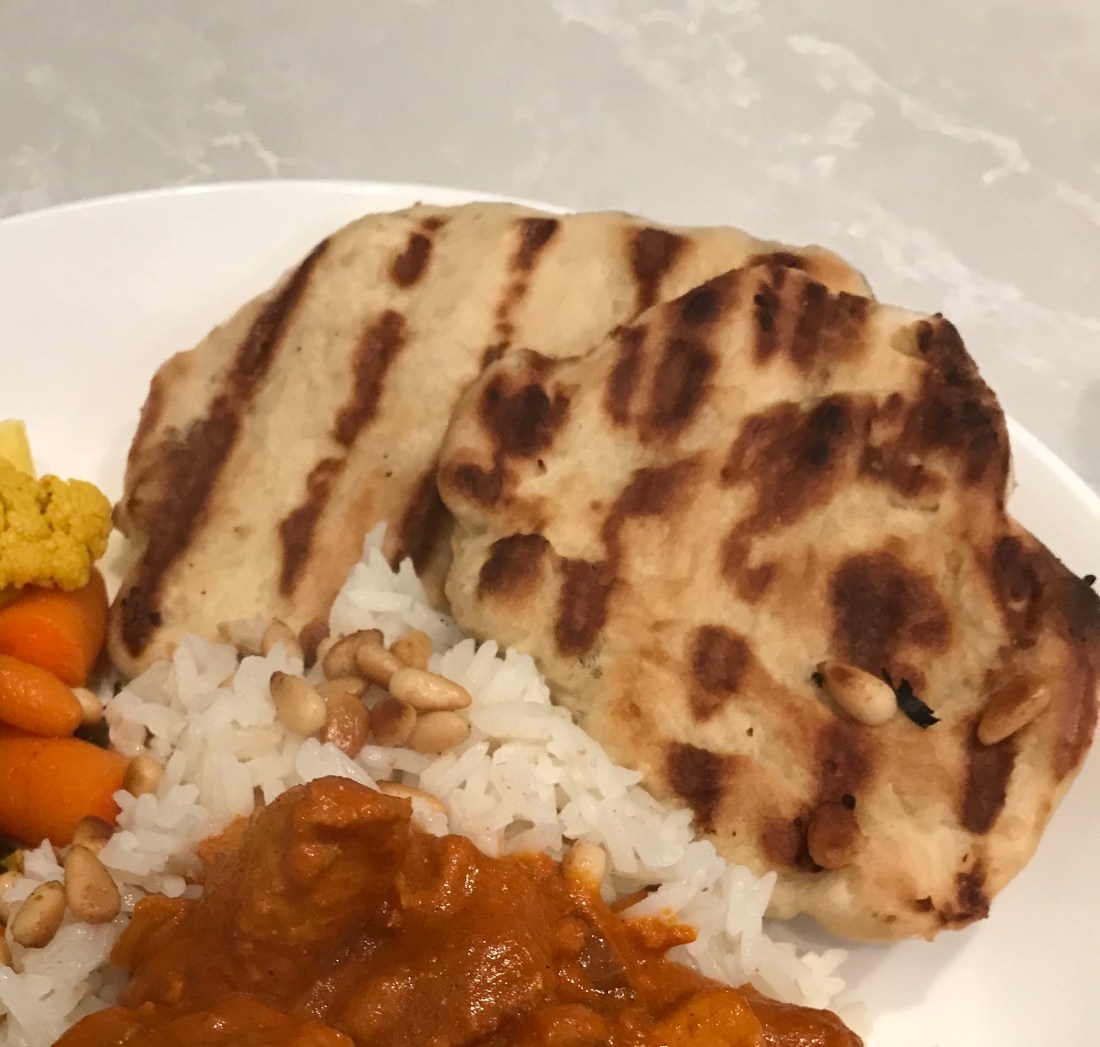
So, it’s true that Indian foods tastes so much better with Naan and you really don’t need any utensils if you’re doing it right so, wash your hands and grab that Naan because it’s an experience!
What is Naan you ask? Really it’s just pita bread with egg but technically it is a leavened, oven-baked flatbread found in the cuisines mainly of Western Asia, South Asia, Indonesia, Myanmar and the Caribbean but I don’t bake it, I grill it!
You will find so many variations of a recipe for Naan, some of which calls for yogurt or ghee but I’m boiling it down to what I did to get delicious hot Naan in the quickest and simplest way possible; you know me, get it done!
First it’s going to take a little bit of waiting time but not a lot, hands on you’re about 15 minutes invested and waiting time is about 1.5 hours. Let’s get started!
What you’ll need:
- 1 package (.26 ounce) of active dry yeast (no substitutes!)
- 1 cup white sugar
- 1 cup warm water (more on this in a minute)
- 3 tbsp milk (I use whole milk but maybe that’s my hangup but it works)
- 1 egg, beaten
- 2 tsp salt (I use Morton’s coarse sea salt)
- 1/2 tsp baking soda
- 4 cups bread flour (see note)
- Garlic powder
- Garlic (roasted, diced, chopped, whichever you prefer)
[Note: bread flour has a higher protein content and it really does produce a better bread but it won’t ruin your dish if you use all purpose. If you have to use all purpose flour, I highly recommend using a good quality one like Kimg Arthur]
Now for the most important part: proofing the yeast. It’s always best to activate your yeast before you start the recipe because it “kick starts” the rising process. You proof your yeast by mixing the yeast, 1 tbsp sugar and the warm water; you want the water to be between 110 and 115. I do not go much higher than 110 however, you can kill the yeast so keep it low but not lower than 110.
The hot water in my kitchen is about 122 degrees so I measure out the water early in the process to allow it to cool to 110 before I need to use it.
[Note: I know, I know “warm” isn’t helpful. It isn’t which is why you need a thermometer I have a really good one I bought on Amazon for like $19.99 and it’s good for so many things. Here’s a link to an article about it, if you do t have one please get it quick.]
You should proof the yeast in the bowl in which you will be using for the dough because it “grows”, you’ll want it to sit for ~10 minutes until it increases in size and looks “frothy”.
Now, once it is frothy, add the remaining sugar to the bowl and, in a separate bowl, beat the egg with the milk, salt and baking soda and pour into the bowl with the yeast mixture and sugar. Adding the flour can be a little tricky because you don’t want to add too much, I start with 3 1/2 cups and mix to determine the consistency if you need to add more flour, do it gradually.
I season by smell so I dump some garlic powder in the mix now to add additional flavor, just enough so you can smell it when you start mixing it together. I would guess maybe 1 tbsp? It’s your food, add as much or as little as you like.
You want the dough to come together nicely, incorporating the flour without “cracking” which you’ll know what that is when you see it; it will literally look like you added too much flour. You don’t want it to stick to your hands either so just be gradual. The kneading at this point helps, dump some flour on the counter and place the dough there, begin to knead the dough for ~7 minutes.
You will want the dough to feel “smooth” after kneading. You don’t want “cracks” which is very dry patches of dough, maybe I’m over complicating but just please don’t add too much flour, adding it while you knead is best. Place the dough in an oiled bowl (I wipe the inside of a bowl with olive oil using a paper towel) and “roll” the ball around in the bowl to coat all sides. Soak a dish towel in warm water from the faucet and wring out well, place over the top of the bowl and let rise in the warmest place in your kitchen for 1 hour, it should double in size.
I take a photo of the dough and compare after an hour to make sure it’s rising. If you find it is not rising, just move it to a warmer place and give it another 30. You can allow it to rise overnight in the fridge too but I don’t ever do that.
After 1 hour (or whenever you are satisfied with the rise) uncover the dough and pull of bits of dough that measure about the size of a golf ball. If I’m being perfectly honest, mine are all different sizes so you don’t have to stress too much about it. Roll the dough into a smooth ball and place on a plate/platter to hold all of the dough balls. Cover them with a dry cotton towel and let the rest and rise again for 30 minutes; they should double in size again. Now start the grill on high heat (see note).
[Note: you can use a cast iron pan or heavy frying pan also, just make sure it is hot.]
After the 2nd rise, you’ll want to shape the dough. Take each ball and pull out to a Naan shape (well any shape really, just don’t tear the dough or make it too thin}. Mine are varying sizes, shapes and thickness so you cannot really go wrong here. If you do year it, just pinch it back together.
The dough will really stick to itself here so be careful how you place the shaped dough, I lay out a sheet of wax paper and place it there. Shape all of the dough and melt 1/2 stick of butter in a pan with the garlic (I don’t have a microwave but I suppose you could use that if you want). Brush the tops of the dough with the butter and place the butter side down on the hot grill or pan (whichever you are using) but be careful not to overcook!
You will cook them no longer than 2 minutes per side (3 max). Before you turn them, brush the top side with the butter, turn and cook for the same time on that side. That’s it!
As I always say: it’s your food so make it your own! Once you get the hang of it, try adding new fun flavors! Enjoy and please let me know what you think…..