I think you are going to be quite surprised at how easy lamb chops really are! First, let’s talk chops….
There are essentially two different types of lamb chops: pork loin chops and pork chops. Pork loin chops look like small T-bone steaks and lamb chops look like little bone-in ribeye steaks; specially named loin chops or rib chops if you are being technical. I prefer the rib chops just because it is a more consistent experience, the loin chop is, as the description identifies, has two different textures. One is much more tender than the other just as is in the T-bone steak.
Let us forget the loin chop for now, I will address them in a later blog.
So I have tried a couple of different ways to purchase the rib chops: individual chops and whole “Racks” which are literally called “rack of lamb”. You can preppare the “racks” whole/intact or slice for individual ribs; you can even roast whole to the desired temperature, slice and sear which is referred to as a “reverse sear” which I will get into when it gets to my steak blog. For the purposes of this blog (and simplicity), I am working with individual rib chops.
I have purchased individual rib chops at Whole Foods and a rack at Costco. Amazingly enough, the taste was equal. Chris enjoyed both very much and had no indicator they were not exactly the same. Equally shocking (All things equal), I believe the rack ended up being slightly more expensive than the individual chops at Whole Foods. My point: six of one, half dozen of another. I wouldn’t however, recommend buying them from a Jewel or Mariano’s due to quality. Indulge me on a rant for a quick moment….
Taking into consideration simple supply chain knowledge, large scale, “box box” on the corner types of markets gain the benefit of volume discounts which they pass on to their customers. Win-win for everyone of course! That, for me, is important when you are purchasing 1:1 such as canned tomatoes, potato chips, sparkling water, etc. when you wouldn’t necessarily care about where you were buying it more than you would about the brand you love, I am not buying bathroom tissue at Whole Foods because I like a certain brand they don’t sell. Don’t buy your lamb chops at Jewel because they are, by default, purchasing a slightly lower quality meat than Whole Foods which you pay for handsomely.
Costco does put a good emphasis on what they are purchasing and from whom they purchase so they tend to be a little more expensive when it comes to meat also but it is worth it. I rarely purchase all my ingredients from one market so I spend a great deal of time purchasing and prepping the meals, if you do not have time to do that then do what’s best for your of course. IF I have to choose two markets, it would be Whole Foods and Jewel focusing more on Jewel for the bulk of the shop. Off my soapbox, back to the chops….
If you purchase the rack just be sure to slice them as close to the bone of the next chop as you can getting the most of the meat on one side of the chop; just slide your very sharp knife down the bone and through the flesh.
If you are purchasing individual chops, the butcher may ask if you want them “frenched”. I don’t bother with that, it is just pushing the fat from the bone down closer to the flesh to show a more dramatic separation of the bones; I do it myself when I get home. He (she?) may not ask, depends on where you purchase them.
Now, here is the actual important part, prepping for the actual cooking and you won’t believe how easy it actually is: bring to room temperature, season with olive oil and salt (see note) and heat the pan. Yep, that’s it.
Note: I use Boursani Savory Seasoned Salt for this and everything else! It is a little expensive at ~$14 for a jar but it really enhances the flavor of almost anything, especially these chops. I dump it in my salt container on the stove and sprinkle it on everything!
I use a cast iron pan and, if I haven’t lectured you on that already please do get one, heat it with a little olive oil until smoking. You can use grape seed oil also which has a higher smoke point but I like the flavor of olive oil but it must be noted that I have a very sensitive palate and can taste very subtle differences. You may not notice and the lack of smoke is key if you don’t have an industrial or restaurant grade ventilation system to help to eliminate it.
When the pan has reached the correct temperature, I would say heat it for maybe 5 or 7 minutes, lay the chops into the hot pan. You can use tongs if you like but, whatever you do, be certain to lay them AWAY from you so you don’t splatter your skin. WhatI mean by that is to set the chop part into the pan and “push” it away from you all the way into the pan, laying the bone toward the back of the stove.
The second most important part: do not touch them until it is time to turn. The true sear comes from the consistent and direct contact with the hot pan (think about cooking scallops), this is how that beautiful crust is formed.
Most enjoy these chops at a medium to medium rare temp which is about 2 minutes per side for the “normal” sized chops; if you find the ends be a bit larger, just add a minute per side. Let rest for ~7 minutes and that’s it, you are ready to eat!
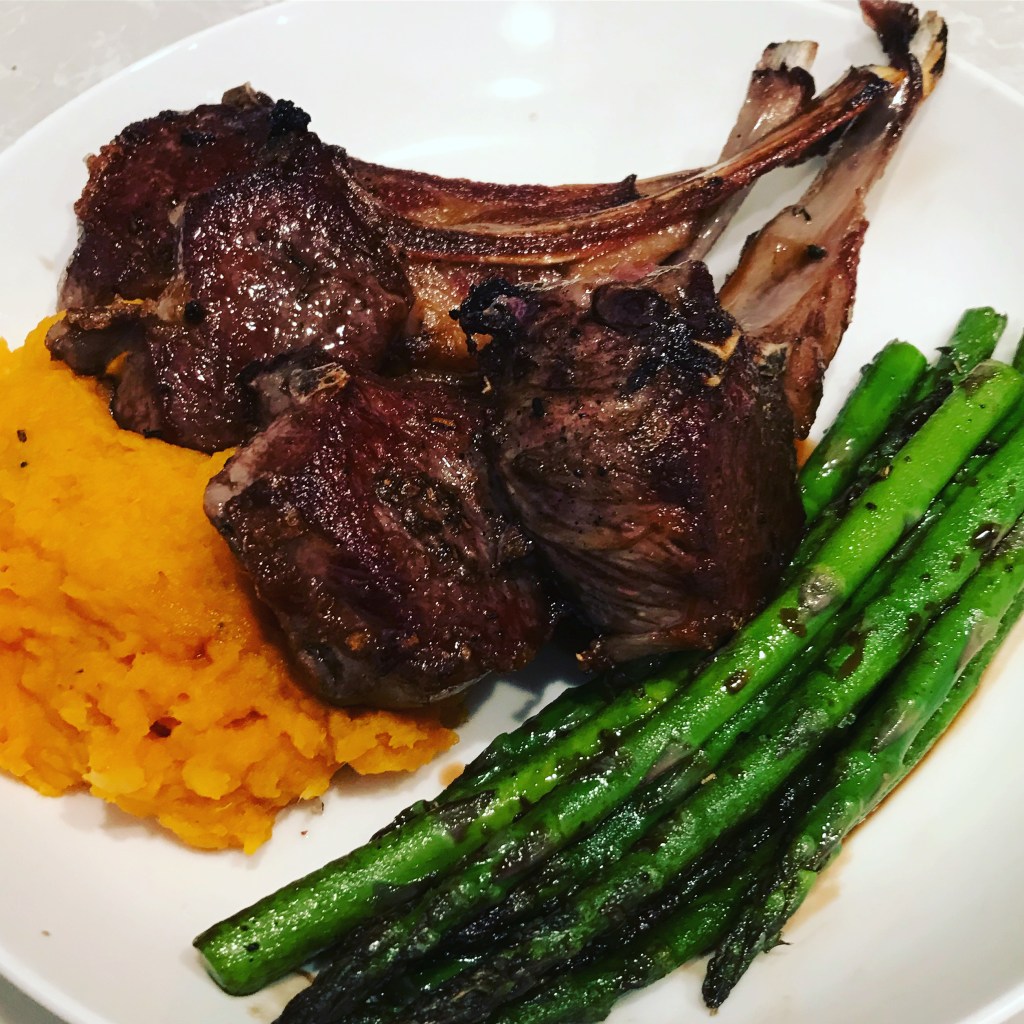
I serve mine with a vegetable puree of some sort and a sautéed vegetables. The crust of the meat mixed with the texture of the puree is a delight for your palate but you should serve with whatever you prefer. See my blog on cauliflower puree to get some tips on making these if you’d like, you can find it here.
Happy eating and please do let me know how you like it!